
In this episode, we are going to cover what steps we need to take to make our game.
So, in a way an overview of the structure of our game.
This is often called The Game Loop.
The video for this episode is available:
Next episode, we start looking at learning Z80 assembly language.
Breaking Down a Game
First, we need to break a game down into some smaller steps as follows:
- Setup/Initialisation
- Title/Intro Screen(s)
- Start Game
- Game Loop
Setup/Initialisation
Title/Intro Screen(s)
This is where the title or intro screens of the game will be displayed, and any game options are selected before the actual game play starts.
We need to go through a couple of steps for this section as follows:
- Load any graphics and patterns required to display the title screen
- Draw the screen
- Start a loop
- Wait for user input – could be just a trigger press, selection of a level, etc
- Play music – quite often, nice to have music playing during the title screen
- Change Displayed pattern – an optional step to display a different screen after a while,e e.g. high score table.
Start Game
Once the player has started the game, we need to set up a few settings, e.g.
- Score
- Lives
- Stage
Then we need to load and graphics and patterns for our game, i.e. background tiles, sprites, etc
Then we need to initialise any other hardware, like sound and joysticks, etc
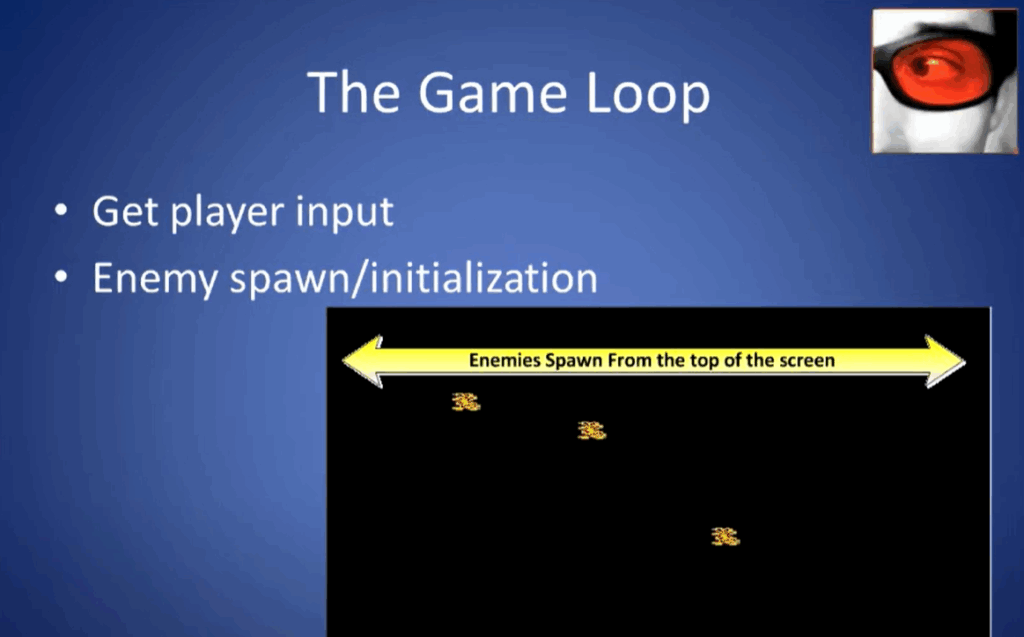
The Game Loop
Right next, we move onto the most important part, i.e the actual game loop.
There are a number of common sections that we will need as follows:
- Get player input – move our ship left/right, fire a bullet
- Enemy spawn/initialisation – should a new enemy appear, what type, etc
- Move enemies – move any enemy sprites that are on screen
- Move player – move the player ship and bullet(s)
- Collision detection – have any of the enemies hit the player or other fixed objects, etc
- Animations – change the displayed pattern of any of the objects on screen that we want to animate
- Draw any changes to the screen – this is most often done during a vBlank, i.e. when the video processor has completed drawing the screen and is returning to the top of the screen to start drawing again.
In our next episode, we will be going over Z80 code itself, learning how to read the sample code.